Sunday, July 29, 2012

Scrappy Fashion Fun


On one of my most recent rummaging trips, I found these wood doll slate thingamabobs.
I had never heard of them (actually called Woodkins fashion plates) and wasn't even sure what they would be used for when I scooped them up (they were shrink wrapped together and marked $1.99). There was no fabric, box or instructions with them.
Tuns out they are are perfect for my leftover fabric scraps!
I cut up several pieces of fabric to size and even a few pieces of wide ribbon for my girl to get creative with.


 Let the mixing and matching begin...


I just love how the fabric pops through once the plate is closed. I also love how this kept my girl busy for a few hours (on and off during the day)! Love spending next to nothing on something that captures interest and promotes creativity for long periods of time!


Apparently their faces are magnetic, so they can be swapped out too (beauty is in the eye of the beholder with these two).

I saw a few on EBay for cheap (when researching what these things were and what they cost retail/new). $4-$15 depending on what kind of set you find (there are even some for boys).

Hmmm...future Project Runway stars?


Thursday, July 12, 2012

$2 Butterfly Garden


How many times have you passed up these $1 boxes of wildflowers? You see them everywhere, Target, Walgreens, Dollar Store...

Well, we finally decided to give them a 'go'. I wasn't expecting much.

My girl really loves flowers and she especially loves dragonflies and butterflies. I decided that her own butterfly garden would be in order for this summer/fall.

We cleared a spot in the back, around the gladiolas that were already starting to sprout.

Then we spread (or rather dumped) the seed all over & stomped it in. By the look of the contents of the box, I decided to be happy if 1 or 2 flowers came up.


Water, water, water...
Within three days...sprouts! (Beginning of June)

In about 4 weeks, we have several blooms!


They are attracting a few butterflies here and there and more than anything, my girl loves to give them away or display them indoors.

Certainly not the plethora of wildflowers as displayed on the box, but happy with the quantity and variety for $2!


Monday, July 2, 2012

Mr. Bump!


Do you remember Mr. Men & Little Miss books?
I love that they have made a big comeback!


My favorite one (I was often called this)...


I discovered recently that the Target dollar aisle had Mr. Men & Little Miss stuff...
I had to get something!

I found this cute lil' pencil case that I thought would make a perfect 'ouch pouch' to keep in my bag.

Alcohol wipes, bandaids, neosporin...

I had fully intended to make my own bag, like the cute ones on Etsy (pics below), but for $1 and some fun nostalgia, I couldn't resist Mr.Bump.


Something great to have in the bag when you're out with the kiddos, or an extra kept in the car!


Saturday, June 30, 2012

DIY Finger Paints (non-toxic)!


DIY Finger Paints.

Finger paint is so easy (and cheap) to make, I will no longer buy it! Plus this is non-toxic!

Simple ingredients. Cornstarch, salt, sugar, water, food coloring.

Mix 3 tablespoons of sugar, 1/2 teaspoon of salt, 1/2 cup of cornstarch and 2 cups of water in a saucepan. Stir to boil, remove from heat and continue stirring until it's thick like pudding. Let it cool.
Seperate into different bowls and add food coloring. That's it.


This was a good color mixing project too (yellow/blue=green).


Fun, fast and cleanup is easy.


For storage, you can use any container as long as it seals tight. These should last a long time!
We just reused some jars we had on hand.

Happy painting!

Tuesday, June 19, 2012

DIY Fairy House

I took my daughter to a very cool garden attraction a few weeks ago, they had fairy houses on display. There were a variety of them made from natural materials, nestled in next to trees and flowers. They were very elaborate and she was amazed. For my local friends, this was at Powell Gardens.

Ever since, she's been asking me if we could have a fairy house too. Hmmm...

Made a quick trip to Hobby Lobby and purchased a paper board house ($2.99) and a bag of sea shells for $3. The rest of the materials we used were 'on hand' random stuff.


We collected twigs, flowers, leaves and some bark.

This is where it gets messy, folks!

Since this house would be outside, I coated it in decoupage - which creates a seal to protect it from water. It also acts as a glue...very sticky goo glue.

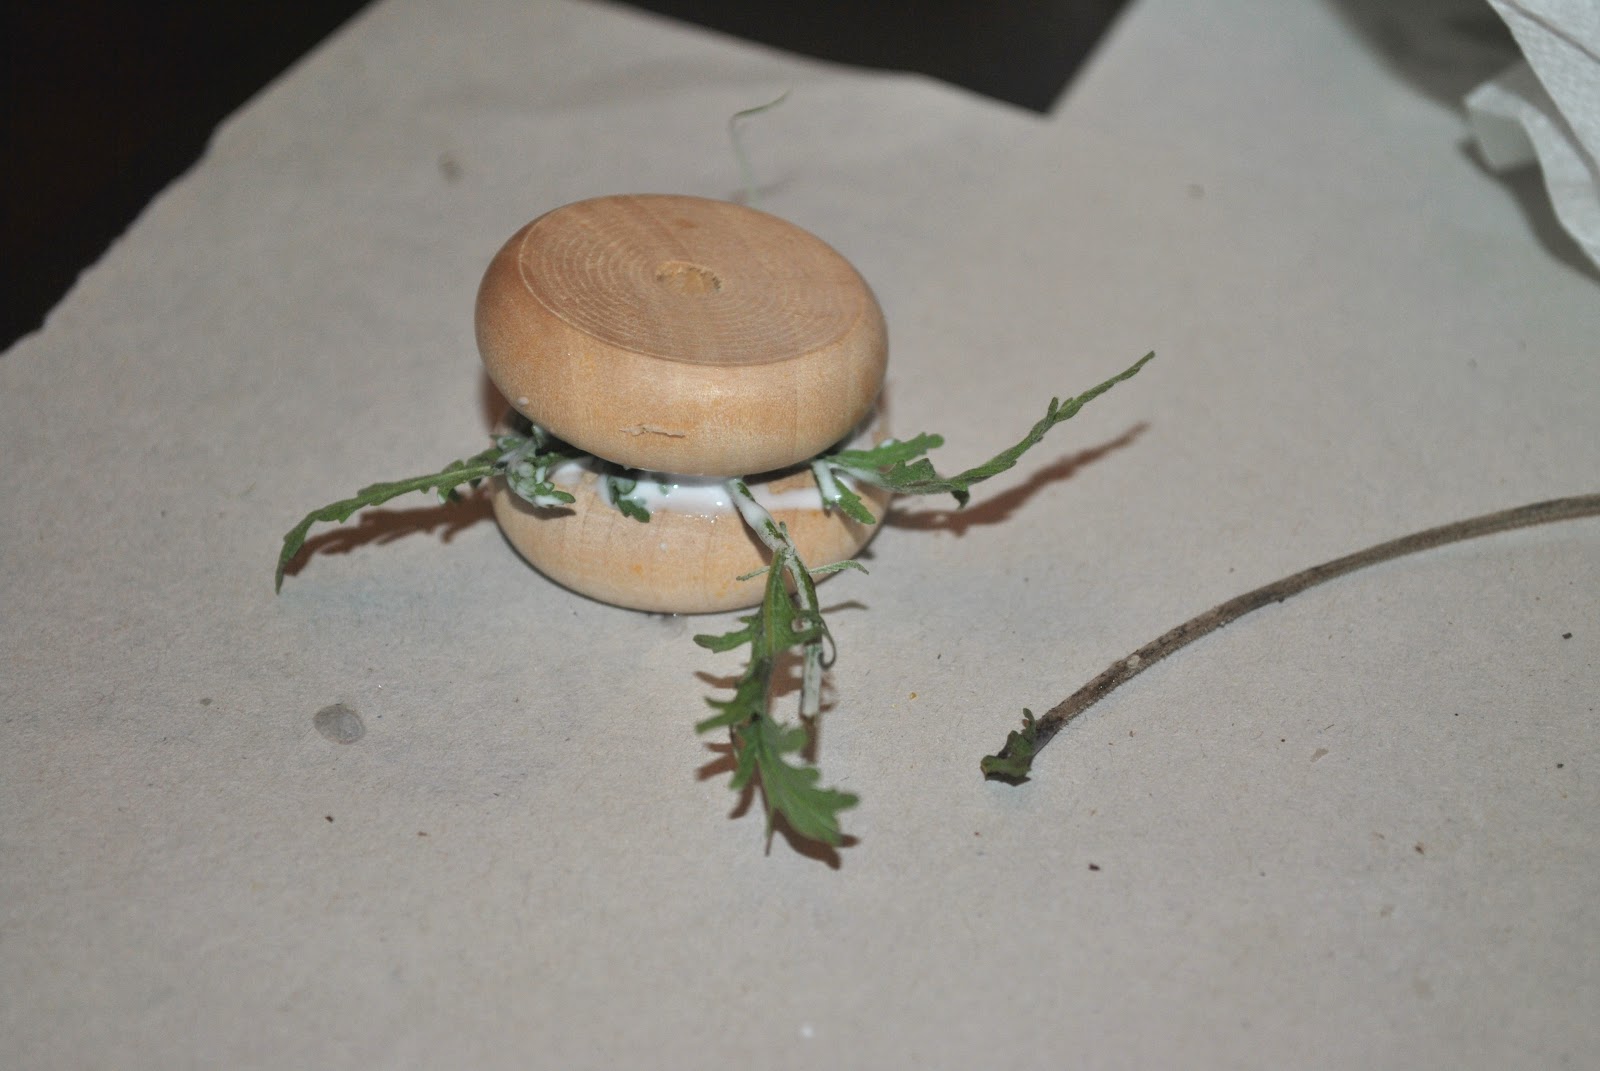
while she was busy sticking stuff on, I made a lil' table and chairs. We had these extra wooden knob pulls and wheel things (we got from Hobby Lobby last year and they are $1-$2).


Table above, just glued two pieces together with some leaves in the middle.

Painted 'chairs' with paint pen.

We let it dry (while we made/ate lunch).
Next step was to find a place to put it. This might make the perfect home...

The rest of our 'random stuff' and an interested on-looker!

We decided a pool was in order for this house. A simple plastic bowl.

Placing shells

Added water to the pool and with different colors of glitter.


She had fun decorating the grounds...making walkways with shells and stones, adding birds and rabbits. We even planted a few of our zinnias in the back.

         We then decided to hide it in a special location...


So much fun and she can't wait until the fairies visit it!