Saturday, June 30, 2012

DIY Finger Paints (non-toxic)!


DIY Finger Paints.

Finger paint is so easy (and cheap) to make, I will no longer buy it! Plus this is non-toxic!

Simple ingredients. Cornstarch, salt, sugar, water, food coloring.

Mix 3 tablespoons of sugar, 1/2 teaspoon of salt, 1/2 cup of cornstarch and 2 cups of water in a saucepan. Stir to boil, remove from heat and continue stirring until it's thick like pudding. Let it cool.
Seperate into different bowls and add food coloring. That's it.


This was a good color mixing project too (yellow/blue=green).


Fun, fast and cleanup is easy.


For storage, you can use any container as long as it seals tight. These should last a long time!
We just reused some jars we had on hand.

Happy painting!

Tuesday, June 19, 2012

DIY Fairy House

I took my daughter to a very cool garden attraction a few weeks ago, they had fairy houses on display. There were a variety of them made from natural materials, nestled in next to trees and flowers. They were very elaborate and she was amazed. For my local friends, this was at Powell Gardens.

Ever since, she's been asking me if we could have a fairy house too. Hmmm...

Made a quick trip to Hobby Lobby and purchased a paper board house ($2.99) and a bag of sea shells for $3. The rest of the materials we used were 'on hand' random stuff.


We collected twigs, flowers, leaves and some bark.

This is where it gets messy, folks!

Since this house would be outside, I coated it in decoupage - which creates a seal to protect it from water. It also acts as a glue...very sticky goo glue.

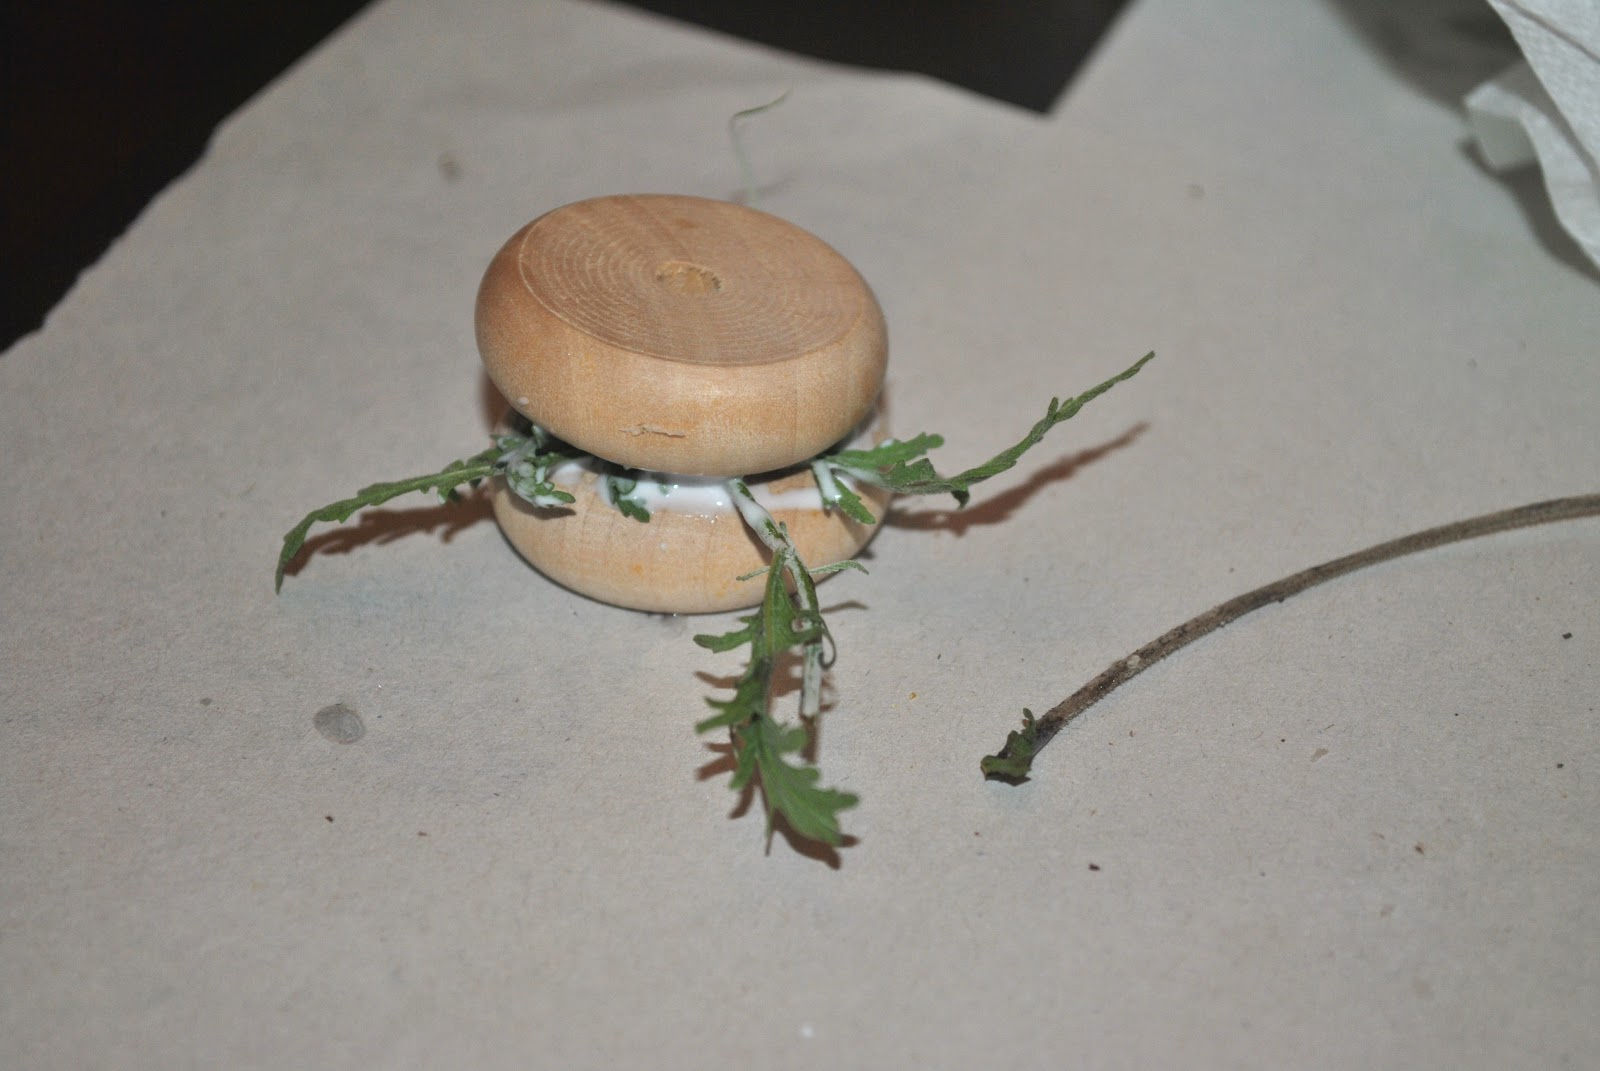
while she was busy sticking stuff on, I made a lil' table and chairs. We had these extra wooden knob pulls and wheel things (we got from Hobby Lobby last year and they are $1-$2).


Table above, just glued two pieces together with some leaves in the middle.

Painted 'chairs' with paint pen.

We let it dry (while we made/ate lunch).
Next step was to find a place to put it. This might make the perfect home...

The rest of our 'random stuff' and an interested on-looker!

We decided a pool was in order for this house. A simple plastic bowl.

Placing shells

Added water to the pool and with different colors of glitter.


She had fun decorating the grounds...making walkways with shells and stones, adding birds and rabbits. We even planted a few of our zinnias in the back.

         We then decided to hide it in a special location...


So much fun and she can't wait until the fairies visit it!

Tuesday, June 12, 2012

Tree Detective, Leaf Transfers!

Tree Detective, Leaf Transfers

I was at Chick-fil-A (yum) with some friends recently, and they had this neat lil' tree guide as a freebie in with the kid's meal.  Wow, something you can actually use and save! Thanks Chick-fil-A for not stuffing crappy toys in your bags.

So, it inspired me to do this quick and easy craft with a couple kiddos one Saturday morning.

We used fabric paint, fabric, brushes and a roller (brayer). However, you could easily use plain paper, any kind of paint and a rolling pin for a fun transfer too! 


Collect leaves!

My girl was on the run with her bucket, grabbing fist fulls of many different kinds. I did have to show her how to carefully remove the leaf, as not to rip them in half. Patience!

Her friend (a little older), was a bit more interested in the varieties, being careful and very selective.
I didn't snap as many photos as I should have (for our step-by-step), but I think it's fairly easy to do!
I used some leftover fabric and cut them evenly, one for each girl.
We used 3 different colored fabric paints, brushes and a heavy roller (a brayer). You could also use a rolling pin (dont' really  need a brayer)!I had some leftover paper plates, so we used three of those for the painting part. The girls painted their leaves one at a time. Once a leaf was done, we laid it face down on the fabric & put a piece of newsprint (any paper would work) on top. We then rolled on top of the newsprint. The fun part was peeling off the newsrpint & leaf to see what kind of imprint it made!


The girls really liked the way the leaves looked after they had dried from the painting/transfer too!
Once the fabric transfer was finished & dried, we used the tree guide for identification. They were able to find a few and it got them talking about the different shapes and sizes as they attempted to match. True Tree Detectives!

Thursday, June 7, 2012

Gardens ROCK!

Easy Garden Rocks...

Not only is this cheap (or free if you already have paint and sealer), it's easy and fun. Since my girl likes to grab rocks out of the landscaping (throw them or leave them in random places), I thought this little project would interest her and keep her excited about her garden.

Acrylic paints, brushes, can of sealer spray (use after paint has dried), and rocks.


We did a hand print rock...the last one we did so we could clean up and wash hands. I used a black paint pen to outline some art on the rocks as well.
Since my girl is in love with the Chipmunks/Chipettes, Daddy actually helped her paint the cast of 'em (we are missing Alvin though).
Placed in the sun, the rocks only took an hour or so to dry. Then I sprayed them with a clear gloss sealer, which I let dry overnite.

Fun part was placing them around the garden the next day...