Saturday, April 16, 2011

Thrifty, Easter, Egg-cetera!

Our thrifty Easter table
Easter is one holiday where you can get away with decorating all 'frilly' and nobody will gag or roll their eyes, right...right? (at least I think this to be true). 

Several months ago, while at a thrift store (scouting for wood frames), I found cute planters (a bunny and lamb) for $1.28 each. I discovered that they're vintage Shawnee planters, worth anywhere from $20-$50 each. Cool. Once again, I tout the advantages of shopping thrift stores for certain things. If you're scared to be seen rummaging, wear shades and a fake stache (so worth it).
  

We planted dwarf zinnias and pansies from seeds we started two weeks prior. Fun project and perhaps a tradition with these lil' guys. Love real green as part of a festive table display (grass, herbs, plants and flowers). 


Thrift store bunny, pillow sham and plastic yellow  teacups ($5)
 I'm not really one for giant Easter trees with egg ornaments, mounds of jelly beans (does anyone eat these?), fake grass, big froo-froo baskets, egg wreaths, bunny flags and the like (but I DO admire those who deck it out). It's just too much work for me- plus, if I add one more bin to our storage room my husband will invest in cliff-repelling gear or a new place to live.
...but I do think this arrangement is fun!


DIY, Peeps - fun & festive. Love the color combo. Easy enough.
Teacups used with simple flowers for Spring and Summer are great (especially grouped together). I think this makes for pretty Easter decor (thrift stores have lots of unique teacups for cheap).


 Now, let's talk EGGS!
How beautiful and simple is this display from Maaaahhh-tha? (Martha Stewart if you didn't understand my 'uppity pronunciation').  Marbleized eggs are apparently cheap and easy to do. Read the simple instructions HERE. We're going to try these for sure.


Also, Kid's Activities Net has a GREAT list & easy instructions on several different ways to decorate Easter eggs! I like their dyed with rubber band and bubble wrap ideas and the crayon resist method.  This site also has instructions on how to dye your eggs naturally and even ideas on what to do with your eggs afterward. These methods are cheap, fun and unique.


Here's a great idea, especially if you are having an egg decorating party & want to reuse egg cartons. Free labels for egg cartons, click here. You can print them on adhesive paper, or print on regular paper and use spray mount or tape!
These are great too. Free print out tags you can tie to baskets or bags! Click here to print them for free!

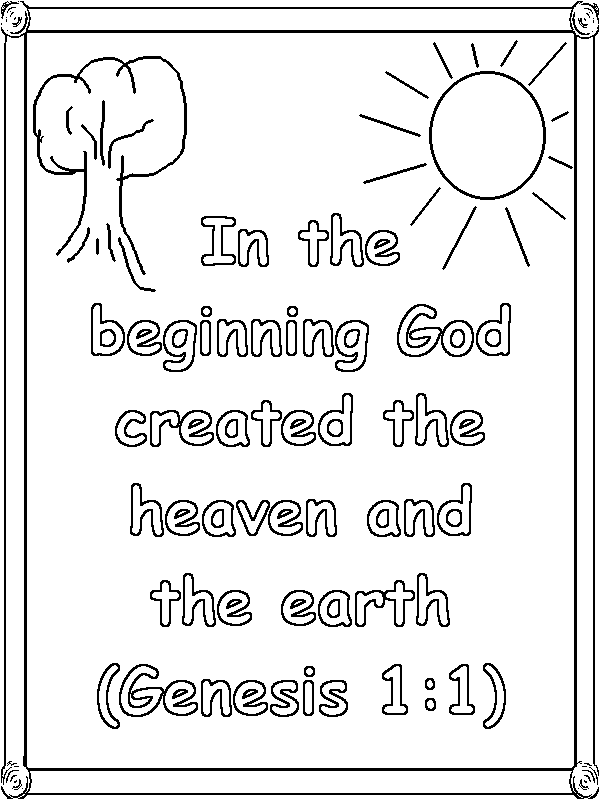
Fun and free Easter crafts and coloring sheets at DKL and DKL Bible .

Lastly, can't forget what Easter is truly about! Visit:  Peter, move your cotton tale aside for more free Easter coloring sheets, activities, reading ideas and treats.


God Bless!


Tuesday, April 12, 2011

The Key to Kindness


I don't know about you, but we have  a lot of random keys in our credenza drawer, a few in the junk drawer and even some extra on our key chains.
What do these extra keys actually unlock (no idea), where the heck did they come from (not sure) and most importantly, what do we do with them now?

One of our random piles of keys

Over the years, they've schlepped along with us from our parent's houses, to our multiple apartments, to our first homes, second homes, multiplying relentlessly ...to here.

Check out these great ideas to help lighten your key load and free up some space, all while doing 'good' for people and the earth.

Keys of Kindness is a charity that donates all proceeds to finding the cure for MS. You just mail your keys to them and they recycle the metal - using the profits for their good work!

Key for Hope is also another charity, donating money to local food pantries. You can expense the postage, it's charity!

You can also call your local recycling center and ask them, most will recycle metal.  If you want to recycle anything and find a location near you, check out Earth911.com. You just type what you want to recycle, include your zip code and a location closest to you will pop up. How easy is that? This site is also a great resource for environmental news overall.

Lastly, I love this idea! Take the few keys you remember and frame/date them! Your first apartments, first homes together...you get the idea. Here's a completed one that turned out great (super easy and cheap to do)- from Apartment Therapy.


I plan to do this with a few, now if only I can remember which keys are which...

Monday, April 11, 2011

Dig Earth, Baby!


Earth Day is almost here and we're celebrating/learning on the days leading up to April 22nd.

We made nature bracelets and a tree bark transfer while on a nature walk. For this, you will need masking tape, construction paper and chalk or crayons.

For the bracelet, wrap a piece of tape around wrist - sticky side out. You can take a walk in your own yard, or hit the trails. As we took our walk, we collected things (flowers, grass, seeds) and stuck them on our bracelets one at a time (yes, mom had one too!). It was fun to talk about each thing and encourage her to find things on her own to add.


For the tree rubbing, tape your construction paper to a tree and make a texture transfer with chalk/crayon. We talked about the bark and it's rough texture, how it protects the tree and how it is part of God's earth given to us to care for.

Later, we taped our bracelets to the tree transfer paper & put them on display in a 'switch-out' cabinet frame. 


Through this walk, I talked about how God created the earth. To serve God, we should take care of  the earth and enjoy what He has created for us!

Cute
Not so cute
Unfortunately, I had to explain this sight to my girl. The reality already present to her, that not every person cares for earth the way they should. Not good to throw trash (or tires) outside in nature. She agreed with a "yucky, time out tire!" Luckily, trail clean up in our neighborhood is this month..so we'll be sure that it's disposed of properly (but...grrr!).

Here are some other things we plan on doing over the next week, to celebrate Earth Day!

FREE Creation coloring pages (creation of the world as told in the Bible). I just love these, one for each of the seven days. Here's Day three.


Reading:
Big World Little Me. We like this book because it's easy to understand and fun. It tells that even one little person can make a big difference. Your local library may have this book (and others like this) in stock.
Read about the creation (Genesis), as told in the Bible (children's bibles with less words and pretty pictures).

Garden, plant flowers, seeds and trees. Get in the dirt together!


Learning how to recycle, sort.  It's never too early to start talking about the three R's (Reduce, Reuse, Recycle). There are lots of great 'How To's' (just google) that show you how to teach your children in fun/unique ways. One way is to do recycled crafts (see Repurpose Driven Life from my blog for ideas). 

We plan to make a milk carton bird feeder this week! Super easy. Google for your favorite and follow instructions.

And, of course...don't forget the yummy treats! These are cute rice crispy earth treats (click underlined link for details). 

If you want to use natural food coloring, you can use Indian Tree food coloring. It only comes in three colors, so you'll have to mix yellow and blue for green (fun to do with kiddo).

I hope everyone enjoys Earth Day and makes it productive, fun and special!


Sunday, April 3, 2011

Puppets in a Jamb

Our Homemade Doorway Puppet Theatre

Saw this idea a couple years ago & shoved it in my 'someday' folder. Slowly but surely I'm taking stuff from that folder and working on them (word of note: slooooowly).
Don't have a lot of space for a wooden puppet theatre/stand? Want something that can easily go up, be taken down and stored ?  Want a theatre that can grow with your child?
Then a doorway puppet theatre is for you!

You can buy them via retail ($50-$90). Or you can make them for under $20, or for FREE if you already have fabric and a tension rod. You can use sheets & curtains too.

There are a lot of DIY doorway puppet theatres out there...here's some visual inspiration.
Oooh


Ahhh- a good tutorial on this tent one too!


Cute on Etsy


So sweet, she actually sells many different themes too (Mommy Made it For Me site)


But this is my inspiration (from Country Living a few years back), below. They have a small tutorial on this one HERE. I just like that it's simple. Not using multiple tension rods, dowel rods or lots of fabric. Best of all, when you look at this picture, you think " Gee, that looks easy enough!"

puppet theater

I went less fancy, less time and skill. I used leftover fabrics and while I sewed most of it, I also used fabric glue where I didn't feel like sewing. I used fabric glue to adhere ribbon trim around the 'stage' opening (it was just easier!):


Fabric glued ribbon trim

My girl enjoying her new puppet theatre

So the Hippo says to the Robot...


I plan to add some Velcro to the inside bottom of the stage corners (or tabs), to eliminate any sagging of the stage (a 5 minute fix). You could also add a pocket & dowel rod to eliminate sagging. After seeing these pics, I realize I could have given it a quick iron out too!

 Total project cost was $0.Total project time was right under 4 hours.

This theatre does the trick and my girl is very happy with it - it's become a common bedtime routine request!